CITY OF MISSISSAUGA IS OFFERING A SUMP PUMP REBATE OF UP TO $6,000 FOR A LIMITED TIME
SUMP PUMP INSTALLATION PROCESS
Installing a sump pump should only be installed by a professional licensed plumber. Below is typical step-by-step guide detailing how we would install a sump pump.
Tools and Materials Needed:
- Sump pump
- Sump basin
- Gravel
- PVC pipe
- Check valve
- Drill and hole saw
- Shovel
- Level
- Silicone sealant
- Cement mix
- Pipe wrench
- Teflon tape
- Pipe fittings
Step 1: Assess the Installation Site
We first inspects the basement to determine the lowest point where water collects. We also check for an accessible power source and identify the best route for the discharge pipe.
Step 2: Dig the Sump Pit
Using a jackhammer and/or shovel, we excavates a hole that is slightly wider and deeper than the sump basin. The hole is typically about 2 feet deep and 18 inches in diameter.
Step 3: Prepare and Position the Sump Basin
A layer of gravel (approximately 2–3 inches) is placed at the bottom of the pit to aid drainage. We then positions the sump basin inside the hole, ensuring it sits level and stable. Additional gravel is packed around the sides to hold it in place.
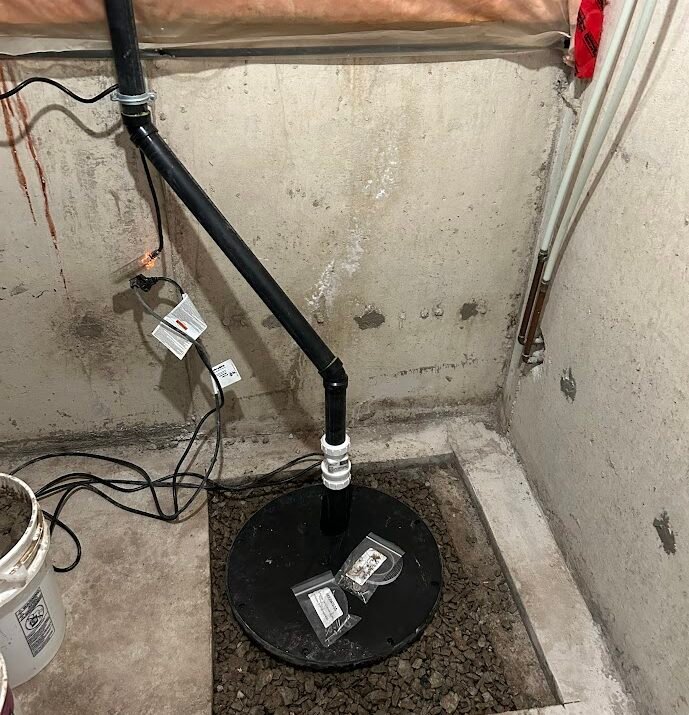
Step 4: Install the Sump Pump
We carefully places the sump pump inside the basin, ensuring it sits upright and unobstructed. The pump’s discharge pipe is then attached securely using the appropriate fittings.
Step 5: Install the Check Valve
A check valve is installed on the discharge pipe above the pump to prevent water from flowing back into the basin. We ensure that the valve is positioned correctly and seals the connections with Teflon tape for a leak-free fit.
Step 6: Route the Discharge Pipe
We drill a hole in the basement wall to route the discharge pipe outside. The pipe is then extended away from the home’s foundation to a designated drainage area, ensuring a downward slope for efficient water flow. Seals are applied around the exit hole to prevent leaks.
Step 7: Test the Sump Pump
Before finalizing the installation, we fills the basin with water to test the pump’s activation. We verify that the float switch operates correctly, the check valve prevents backflow, and water is discharged effectively.
Step 8: Secure the Basin and Finish the Installation
Once the system is confirmed to be functioning properly, we seal the edges of the basin with cement mix to secure it in place. They smooth the surface and clean up any debris.
Step 9: Provide Maintenance Recommendations
Similar to furnaces and water tanks, it is important o continue to monitor/maintain your sum pump system. We will advise the homeowner on sump pump maintenance, including periodic testing, cleaning, and backup power options.